How do I set up my Personal Scheduling Page?
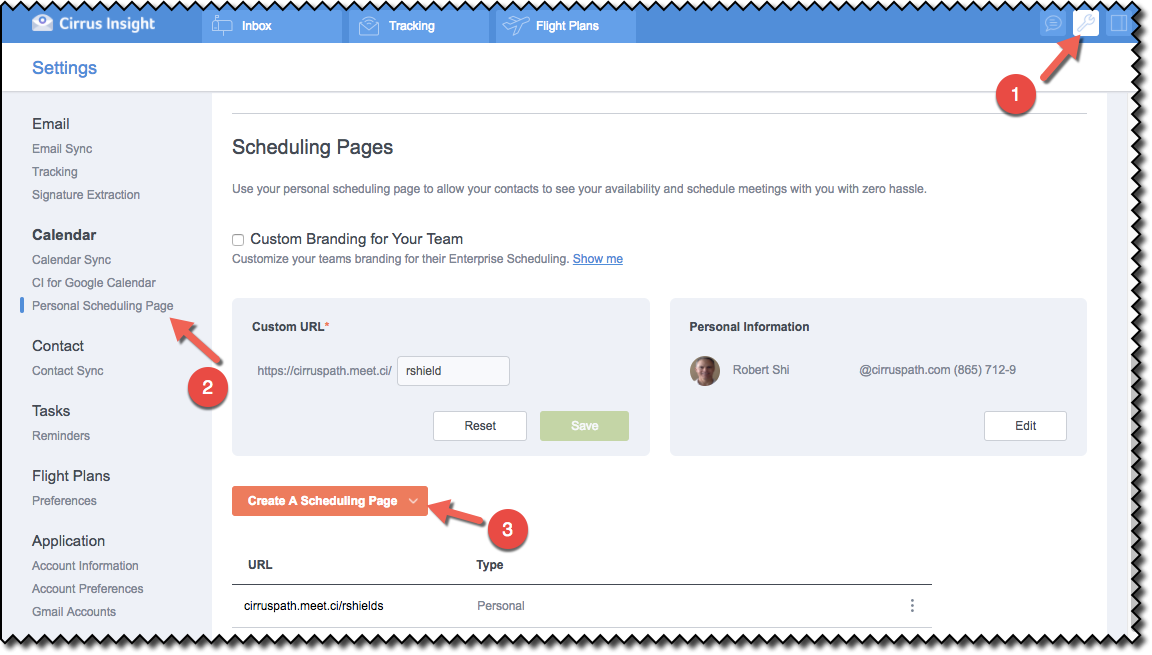
1. Click on the Wrench icon (Settings) at the top of the Cirrus Insight panel.
2. Click on Personal Scheduling Page from the Settings menu.
3. Click the Create a Scheduling Page button.*
* Note: If the Get Personal Scheduling Page button is displayed instead, click it to find out how your organization can utilize this new feature.
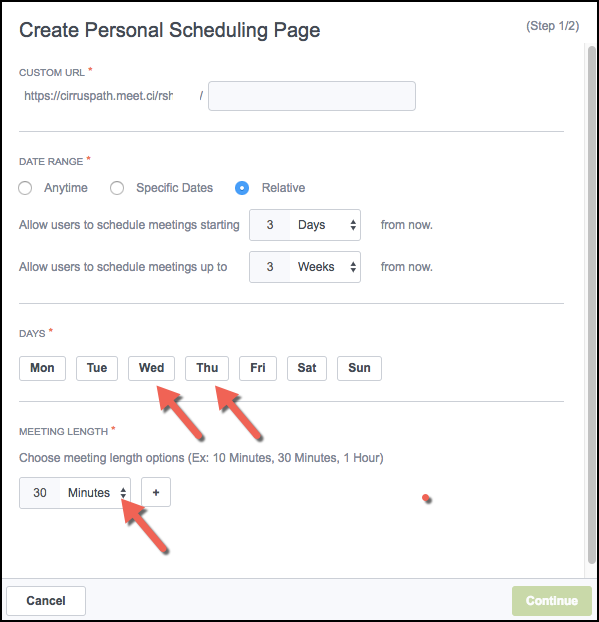
4. In the Personal Information section, create your custom URL by inputting your name, or a variation of it, in the input field (e.g., first initial then last name, abbreviation of first or last name, etc.).
If your name is available you'll see the "This URL is Available!" notification appear. If not, please try additional name variations.
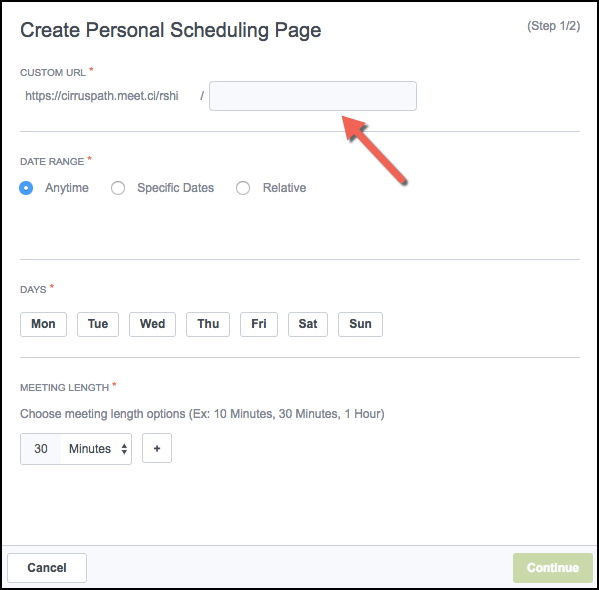
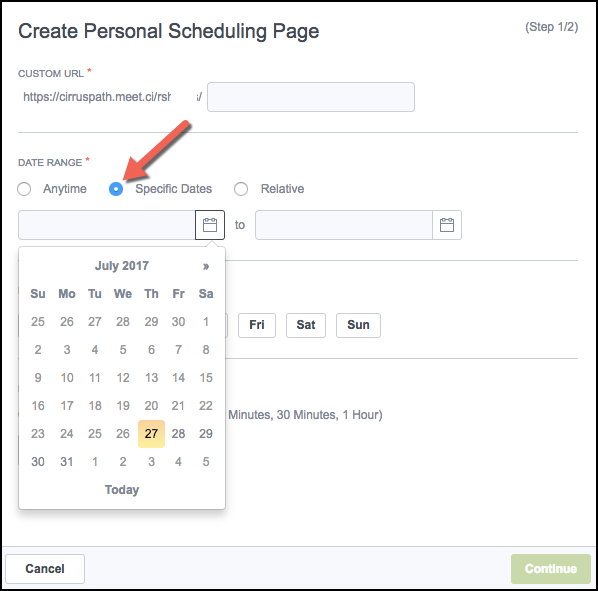
5. In the Date Range section, choose between the Anytime (default), Specific Dates, or Relative options.
If Specific Dates is selected, calendars are presented from which to select the begin and ending dates.
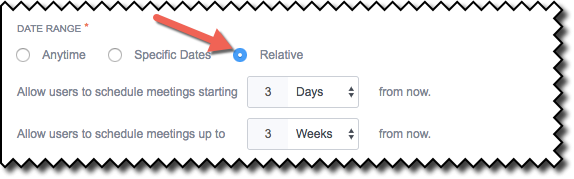
6. If Relative is chosen, two input fields are displayed allowing you to input the time periods desired.
7. Select the specific days of the week you'd like to allow users to schedule meetings on. Next, select the length of time for meetings from the drop-down menu and then click the Continue button.
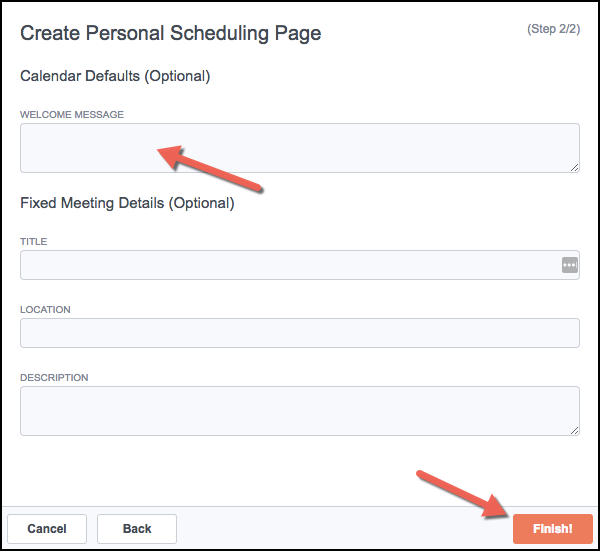
8. Optional input fields are presented allowing you to create a default Welcome Message and input the title, location, and description for those meeting details that are fixed in nature.
Click on the Finish button when you're done.
Related Articles
-
How do I invite multiple attendees to a meeting?
Learn how to easily add multiple people to a meeting invitation using the Book Meeting feature.
-
How do I create and set up an Enterprise Scheduling Page?
Create a customized Enterprise Scheduling Page to book more meetings with ease by letting the attendee choose the date and time.
-
How do I add Salesforce parameters to my Personal Scheduling Page link?
When sending out your Personal Scheduling Page link to a specific recipient, you can edit the link so that the event will be added to Salesforce and related to the contact (and one other record) after the recipient selects a time.
-
How do I invite multiple attendees to a meeting?
Learn how to easily add multiple people to a meeting invitation using the Book Meeting feature.
-
How can I schedule meetings for my coworker using Book Meeting?
Book Meeting supports shared Google calendars so you can easily book meetings between clients and coworkers.
- Account Management
- Activities+
- Add to Salesforce
- Attach (Document Tracking)
- Book Meeting
- Calendar Sync
- CI Tab for Google Calendar
- Contact Sync
- Email Campaigns
- Email Sync
- Email Tracking
- Flight Plans
- Follow Up
- Install
- Link Tracking
- Log In
- Reply Tracking
- Reports
- Signature Extraction
- Specifications
- Templates
- User Guide