For Admins: How do I manage my Action Items in Flight Plans?
Action Items are managed from the Action Item tab. An Action Item is defined as a task that requires completion in order for a Fight to continue to the next step.
There are three types of Action Items:
- To-do
- Call
- Auto email
These individual Action Items are listed in the Event column found on the Action Items tab in Flight Plans.
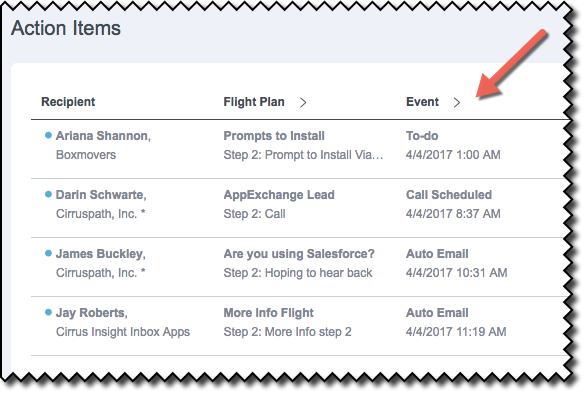
Details about the Action Item options:
To do: This type of event requires the user to input a customized note about the status of the Flight step or a related action the user will be performing.
Auto Emails: This type of event represents a step within a Flight where an email has been selected to be delivered to a lead or contact automatically. The Due column in the Action Items tab displays a countdown to when an auto email is scheduled to be sent. Prior to that time, an email can be edited if required. Use the displayed Review and Send button to make such changes.
Call: This type of event provides a scheduled step within a Flight to attempt to speak directly to the lead or contact. Using the Click to Call feature, the prospect's phone number (as is listed in Salesforce) will be transferred to your mobile device with Cirrus Insight's mobile app featuring Flight Plans. An outcome is required to be chosen when completing the Call event.
Let's look at the To-do action item in more detail:
An event labeled as To-do requires that you add a note about the action requiring attention.

1. A To-do event in the Action Items tab will display a green Act Now button when the associated step in the Flight Plan is scheduled to be triggered.
Click on the Act Now button when it is displayed.
Note: The Due column will display the amount of time until the event is scheduled to occur, or in the case of this example, the time that has expired since the action item was triggered to occur. The trigger is based on the time period selected between the previous step and the current step when the Flight Plan was being created.
In this example, the To-do action item is delinquent 11 hours. The Flight Plan will not progress to the next step until this step/action item is completed.

2. A window displays titled identically to the name of the step. There are instructions displayed to prompt the action desired.
Perform the required To-do action item and then type a note about the event in the Notes input field (e.g., confirming the completion of the event or indicating a follow-up is needed).
Note: It is required that a note be provided in order for the action to be saved --- and for the action item to be removed automatically from the "due" status once completed.
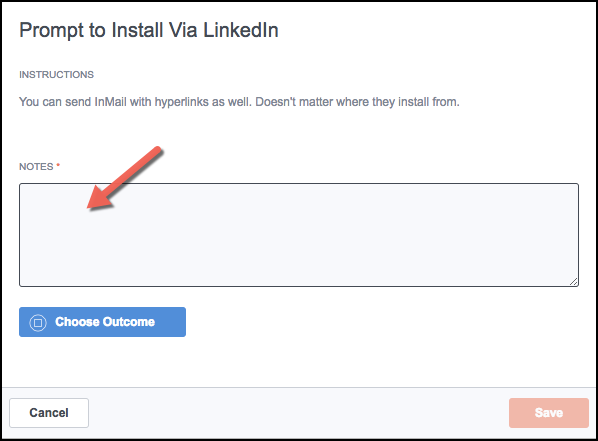
Note: If the recipient has completed the objective of the Flight Plan at any point during the flight, the Choose Outcome button can be used. (In this example, if the recipient had installed the app via LinkedIn.)
* If this is the case, please see our Knowledge Base article titled "How do I choose an Outcome before a Flight has ended?" for details.
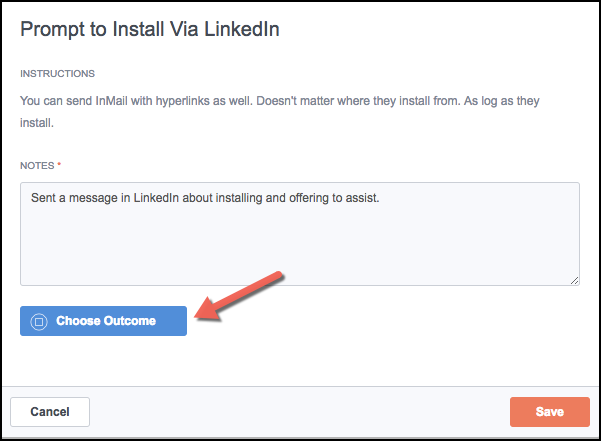
3. After inputting notes about the completion of your actions (and the subsequent readiness to commence with the next step in the Flight Plan), click on the Save button.
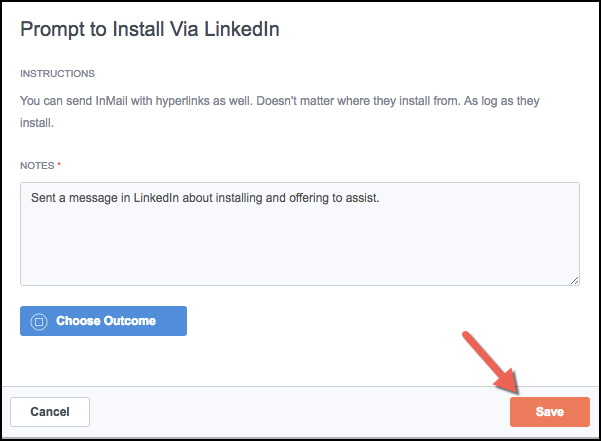
4. Note the recipient's Flight has now proceeded to the next step. In this example, step 3 has been created to send an automated email titled "Ready to take a look?" in one day.

Let's explore how the Auto Email event is managed within the Action Items tab:
Again, Auto Emails are a type of event that can be assigned to an individual step when creating a Flight Plan. In addition to selecting "Email" as the step type, the Flight Plan creator is required to select the Automatically Send checkbox -- if the email is desired to be designated as an Auto Email and be automatically sent at the scheduled day/time.
1. When an Auto Email event has time before it's scheduled to be sent, a Review Now button is displayed in the Action column. Note is this example the step is scheduled to occur in 2 hours.
Click on the Review Now button.

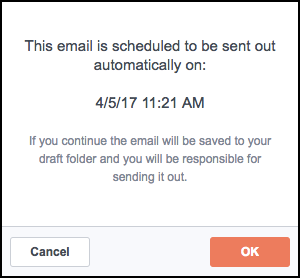
2. The date/time the email is scheduled to be sent is displayed. It also states that if the user continues by clicking on the OK button, the email will be saved to the Draft folder in the user's inbox. From that point, it will be the user's responsibility to make the send the email after making the needed edits.
Click the Cancel button so we can continue with viewing the automated process of sending an email.
Let's explore the management of the Call event type:
For a given step that's been designated as a Call event, the Call Now button will appear when the step becomes due. In the case of the example below, the user is late on performing the call.
1. Click the Call Now button.

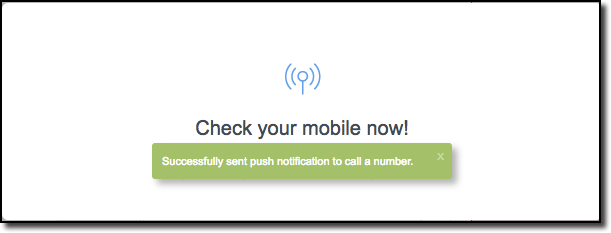
2. A pop-up window will appear briefly confirming the call was transferred to the user's phone.
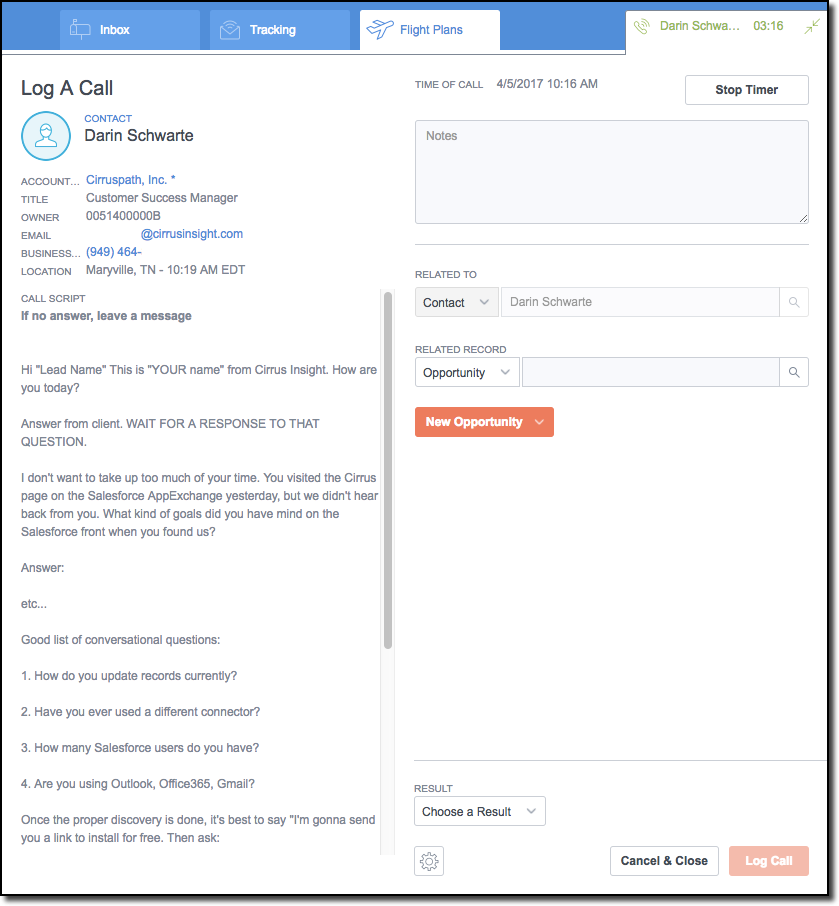
3. The Log a Call window appears containing the Call Script chosen for the Flight Plan.
Information about the lead/contact is pulled from Salesforce and is displayed at the top. In addition to the Call Script, the Log a Call window contains:
- a Timer displaying the current length of the call
- a Stop Timer button that can be used if there's a break in the discussion
- a Notes input field for including notes about the call
- a Related To and Related Record drop-down menu indicating where the call will be logged in the Activity record in Salesforce.
- a New Opportunity button where a related record Opportunity can be created if none already exists
- a Result drop-down menu where the result of the call or call attempt can be recorded
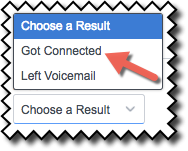
4. After notes have been entered with the current status of this Call step, the Result of the call can be selected.
Click on the arrow on the Choose a Result button.
Click on the appropriate option.
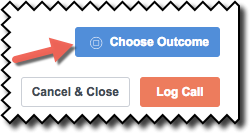
5. Currently, the Call event type requires an Outcome to be chosen prior to logging the call to Salesforce.
Click the Choose Outcome button.
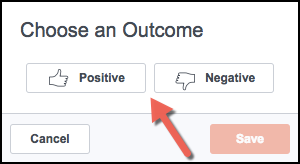
6. At the Choose an Outcome pop-up window, click to select a Positive or Negative outcome (result of the call).
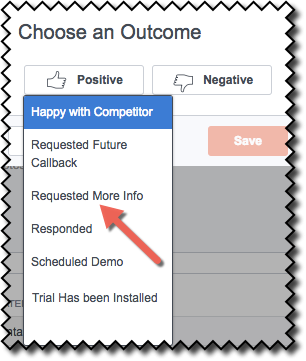
7. Select the appropriate positive or negative outcome from the list of options.
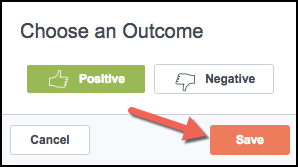
8. The chosen Outcome type is now displayed in color (either green for Positive or red for Negative).
Click the Save button.
The Action Item is now completed and removed from the Action Item tab.
Related Articles
-
How do I add my Gmail signature to an Email Campaign?
Learn how to add your Gmail signature to an Email Campaign by checking the Use Signature box.
-
How do I create an Email Campaign by adding recipients from a CSV?
To send a mass email to individuals who aren't in Salesforce, you can create an Email Campaign and build your recipient list by uploading a CSV file.
-
For Admins: How can I change my users' Flight Plans permissions?
As a Cirrus Insight Admin, you can grant users the permission to create/manage Flight Plans, or you can even disable access to the Flight Plans feature entirely.
-
How do I disable Google Labs that conflict with Cirrus Insight?
Learn how to determine if an issue is caused by a Google Lab and, if so, how to disable the conflicting Lab.